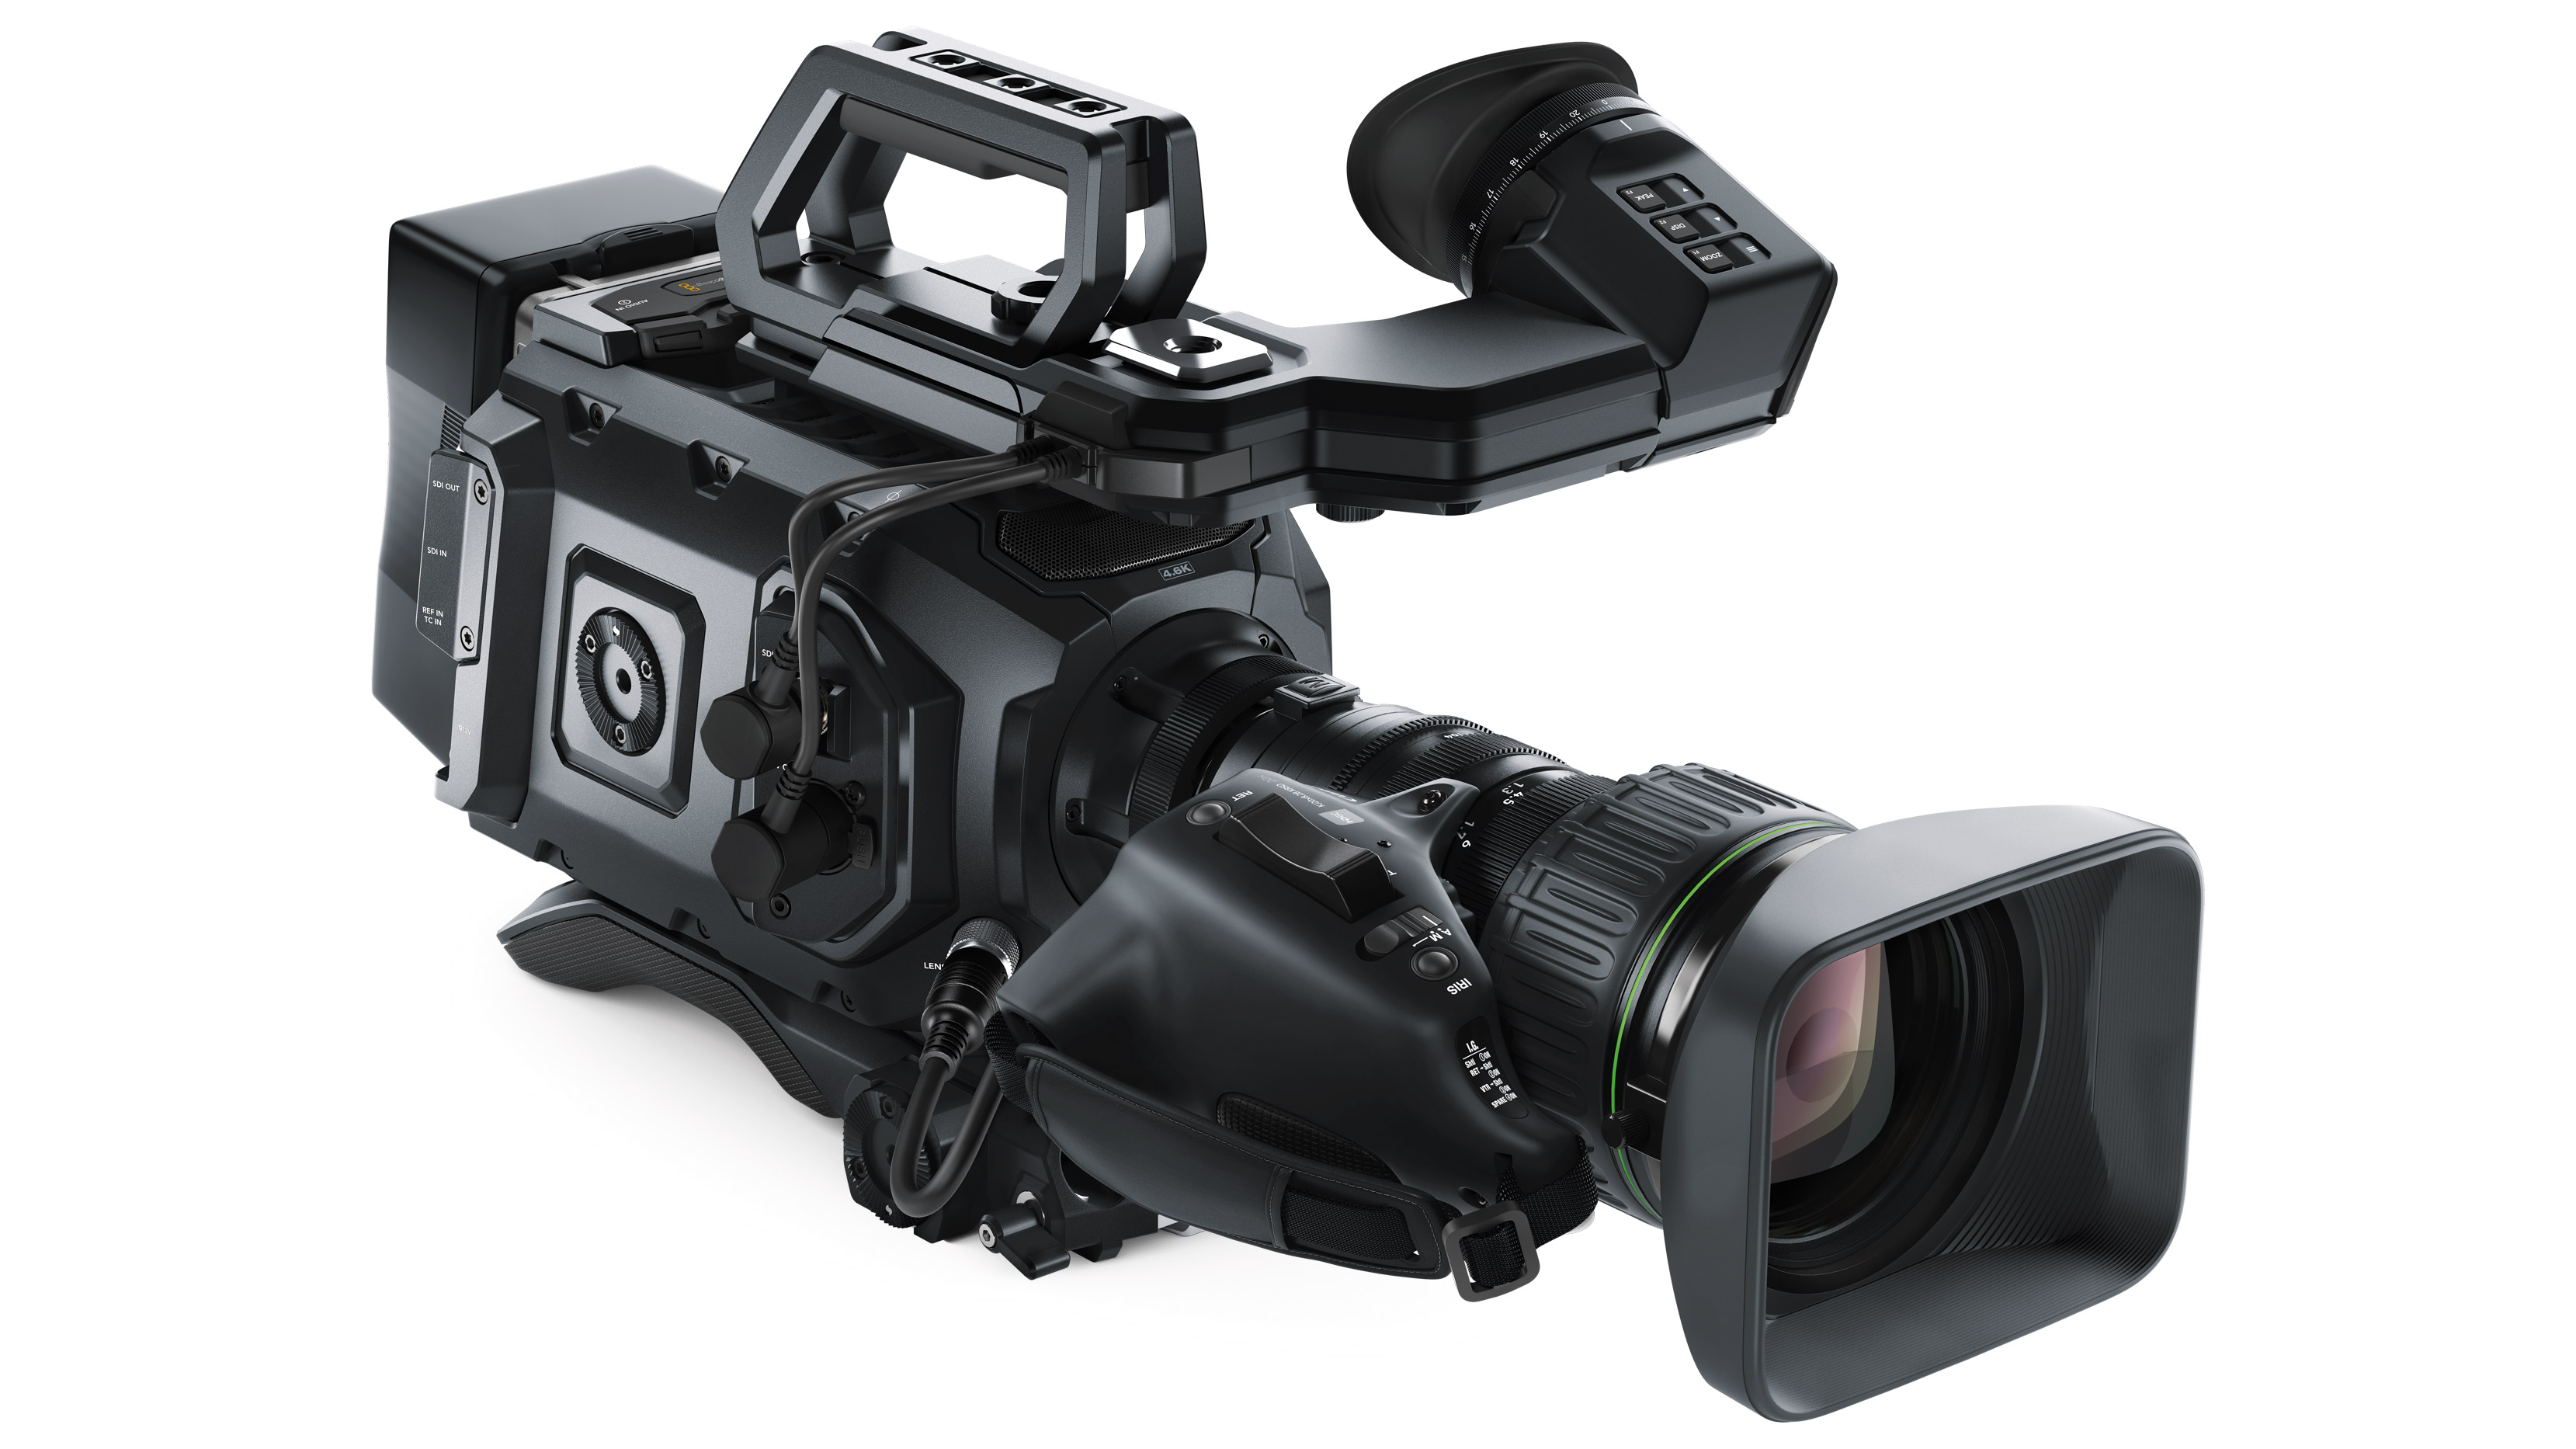
Camera workshop 1
Setting up the tripod:
- Take it out of it’s case and place it carefully on the ground.
- Un-clip the hinges and adjust the height of it.
- Clip the hinges on and ensure it’s stable.
Setting up the camera:
- When attaching it to the tripod, make sure you are attaching it from the right end of the tripod. A way of double checking is seeing where the spirit level is as that should be facing away from the side you slot it in from.
- When you attach the camera make sure you push in the button on the side of the tripod.
- Now you need to check if the tripod is level, you do this by adjusting the axis of the top of the tripod according to the spirit level.
- To turn it on, you must open up the screen on the side and press the on button on the inside of the camera.
- Once you’ve turned it on, you might have to adjust the exposure of the camera. The exposure is what decides how much light goes into the camera so if it is bright the exposure has to be smaller as there is more light but if it’s dark you need to have a bigger exposure in order to balance out the amount of light getting through the lens.
- In order to focus on your subject, you zoom in and focus it by adjusting the blue lever on the end of the lens. The reason you zoom in, is because it is a lot easier to see the details of your subject and weather your fully focused or still slightly blurred.
- If you ever hand the camera to someone else, you need to say ''Yours'' when you are holding it out to them and when you receiving the camera, you say ''Mine'' to ensure that you have it letting the other person know that they can let go.
Equipment:
Black magic body
Nikon lens (with adapter)
Standard tripod

Comments
Post a Comment